| Run Stable Diffusion locally on your M1 Macbook Pro | 您所在的位置:网站首页 › Faster Stable Diffusion with Core ML on iPhone iPad and Mac › Run Stable Diffusion locally on your M1 Macbook Pro |
Run Stable Diffusion locally on your M1 Macbook Pro
|
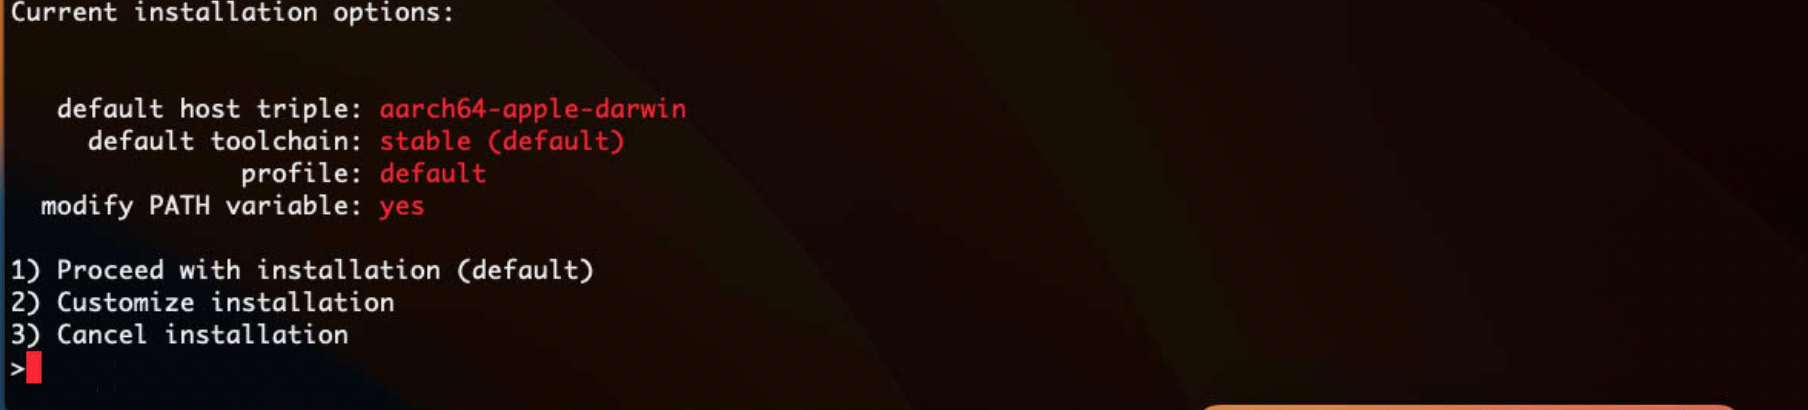
Apple's awesome update enables us to use Stable Diffusion on an M1 Macbook Pro. Here are the step-by-step instructions. Step 0 - Install Homebrew package managerSimple instructions. Step 1 - Install RustInstall rustup packager for rust. brew install rustupUse rustup to install the Rust compiler (rustc) and the Rust package manager (cargo). rustup-initSelect Option 1
Restart Terminal to reload your PATH environment variable to include Cargo package manager The Homebrew package manager is the easiest way to install developer tools on a Mac. Run this, just in case. source "$HOME/.cargo/env" Step 2 - Install Python3.8 via pyenvInstall pyenv. pyenv is the package manager used for installing multiple versions of python. brew install pyenvInstall python3.8. pyenv install 3.8.16Set python3.8 as your global language. pyenv global 3.8.16Verify your work pyenv versions Step 1 - Install Anaconda via HomebrewAnaconda is a Python-based toolbelt for data scientists. You can install it using a distribution file or via Homebrew. I always pick Homebrew when possible. It will help you better understand where your libraries live. brew install --cask anaconda Configuring Paths in Terminal New Way (Recommended)Anaconda no longer suggests modifying the path. /opt/homebrew/anaconda3/bin/conda init zsh Old WayAdd this path to your environment. echo 'export PATH=/usr/local/anaconda3/bin:$PATH' >> ~/.zshrcAdd this other path to your environment. echo 'export PATH=/opt/homebrew/anaconda3/bin:$PATH' >> ~/.zshrcEither restart the Terminal or run this command. source ~/.zshrc VerifyVerify that you can access Anaconda from your Terminal. conda Step 2 - Create a Python environment and install dependencies conda create -n coreml_stable_diffusion python=3.8 -yActivate your python environment. conda activate coreml_stable_diffusion Step 3 - Clone Repo from GithubClone Apple's repo from Github. I will download the git repo on my desktop to make things obvious. Change the directory to your desktop. mkdir ~/Desktop/Clone from GitHub. git clone https://github.com/apple/ml-stable-diffusion.gitChange directory into repo. cd ml-stable-diffusionpip is the package manager for this git repo. Install all the dependencies. pip install -e . Step 4 - Get API Token from Hugging FaceRegister an account on Hugging Face and generate an API Access Token. Log into Hugging Face via Terminal huggingface-cli login Step 5 - Convert Stable Diffusion Model to Apple's CoreMLCreate a folder to place AI models. mkdir ~/Desktop/AI_MODELSPick the version of Stable Diffusion you want to run on Hugging Face via Hugging Face Hub. 5.1 Converting Default Model: CompVis/Default Model is v1.5.Generate Apple's CoreML model files from Hugging Face and store them in AI_MODELS. python -m python_coreml_stable_diffusion.torch2coreml --convert-unet --convert-text-encoder --model-version runwayml/stable-diffusion-v1-5 --convert-vae-decoder --convert-safety-checker -o ~/Desktop/AI_MODELS 5.2 Converting Different Model: dreamlike-artdreamlike-photoreal-2.0I will use the non-default dreamlike-photoreal-2.0 for this example. python -m python_coreml_stable_diffusion.torch2coreml --convert-unet --convert-text-encoder --convert-safety-checker -o ~/Desktop/AI_MODELS --model-version m-a-p/music2vec-v1Wait 20+ minutes! Step 6 - Generate an Image!Create a directory for your upcoming images mkdir ~/Desktop/my-imagesChange the directory into your Git repo. cd ~/Desktop/ml-stable-diffusionRun this command. Please refer to the Github Docs to better understand how --compute-unit, --prompt. I suggest reading this article to better understand --seed. python -m python_coreml_stable_diffusion.pipeline \ -i ~/Documents/AI_MODELS \ -o ~/Desktop/my-images \ --compute-unit CPU_AND_NE \ --seed \ --prompt The link has been copied! |
【本文地址】